When we have completed the installation of the entire projection system, we have entered an important debugging phase. This stage is also easily overlooked by most ordinary users. It is often directly entered into the picture mode for debugging of brightness, color, etc. after installation, but often no matter how it is adjusted, the picture quality is always unsatisfactory. Therefore, we must pay attention to the basic debugging of the projector.

Fine focus on the projector must use the appropriate test pattern
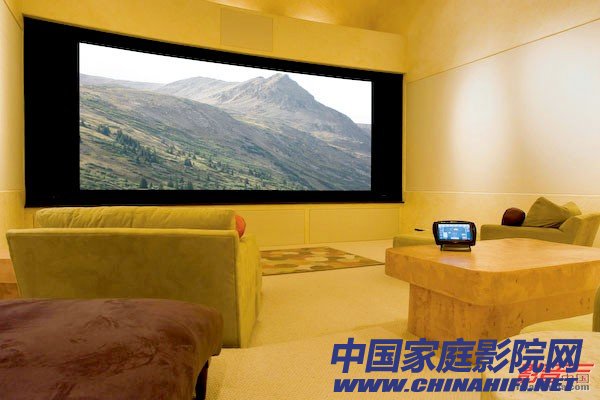
The first key step in projector commissioning is the need to perform detailed focusing. At present, most low-end home theater projectors do not have a motorized focus function. In order to focus more accurately, two people must work together. One is focusing on the lens next to the projector, and the other is carefully in front of the projection screen. Observe if the focus is completed. If the projector has a motorized focus function, the whole job becomes much simpler, and the user only needs to adjust the details in front of the projection screen through the remote controller. In addition, you can choose which screen to focus on, you can choose the focus debugging screen built into the projector, or you can select the focus dedicated screen in the test disc.
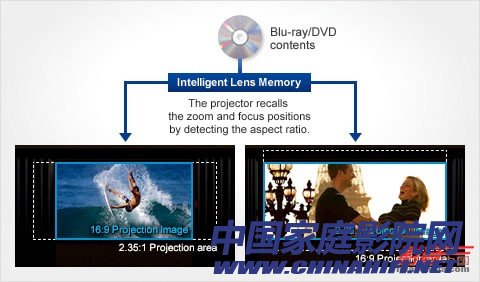
If you use a 2.35:1 anamorphic lens and projection screen, you also need to set two different lens modes: 16:9 and 2.35:1 in the projector.
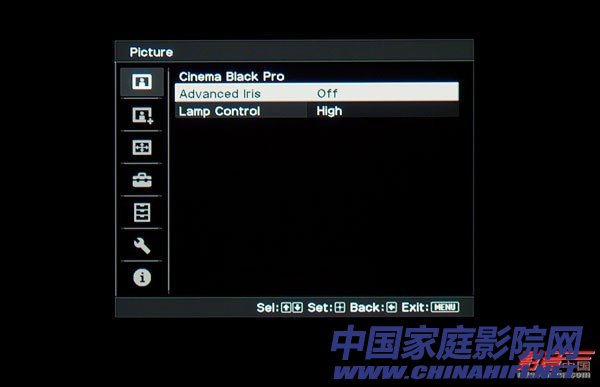
The setting of the working state of the light bulb is also an indispensable important link.
If the user also uses the 2.35:1 anamorphic lens and projection screen, you need to set two different lens modes of 16:9 and 2.35:1 in the projector and save them in the projector. Of course, both modes must be accurately focused, and the projector simultaneously memorizes data on focus, zoom, and even lens shift. Next, we need to consider which lamp mode should be used. Typically, the projector will have two or three lamp modes, such as high power, normal and power save modes. If you are in a living room where the shading is not perfect, it is recommended to use high power or normal mode, but this will affect the life of the bulb. It is recommended that even in the living room environment, some basic shading should be done to reduce the impact of ambient light, and try to use the energy-saving mode in exchange for longer usage time. At present, most of the entry-level home theater projectors, the nominal brightness output can often reach 2000 lumens or more, so even in the energy-saving mode, it can basically meet the projection requirements of 100 inches. In addition, among the lamp power menus, most projectors have a high altitude/high altitude mode, which is used by users in the highlands. For the average user, it must be turned off, otherwise it will affect the life of the bulb.
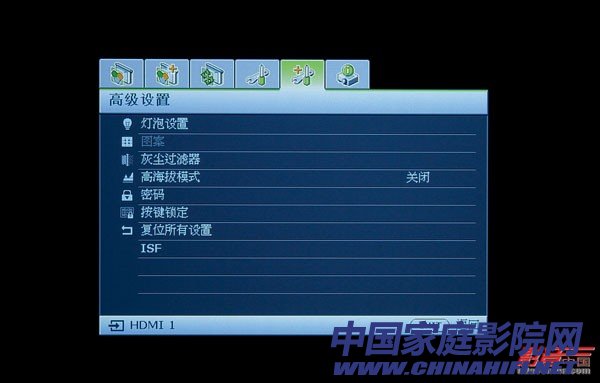
The plateau/high altitude mode is for users in the plateau area and must be closed for ordinary users.
Before continuing to analyze the basic debugging of the projector, it is also necessary to note that the calibration values ​​of most display devices are related to the input. In other words, if the signal is input at HDMI1, the adjusted value is only for the port of HDMI1. If you plug in the HDMI2 port, you must re-set all the screen parameters. Therefore, for those users who have multiple sources, please pay attention to the adjustment of the screen for each source, and reset the source device every time. Although this is a rather cumbersome task, such work cannot be saved in order to get the best picture. In addition, you should also pay attention to save the adjusted data when adjusting the screen, otherwise the data may be lost after shutdown.
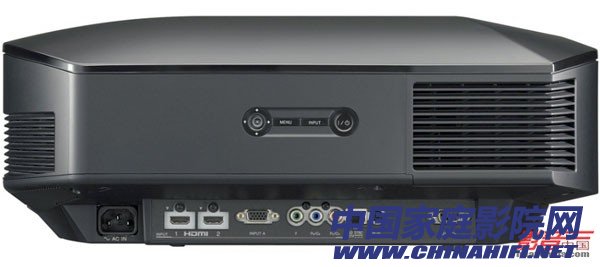
Also need to pay attention to the current projector calibration value is related to the input, to save the adjusted data
The setting of the 3D projection mode is also an indispensable key step, especially for audio-visual enthusiasts who are eager to get the ideal stereoscopic picture. First of all, the user needs to find the position of the 3D setting menu in the projector. Some projectors put the 3D setting menu in the basic menu, but there are also a few projectors that are specially equipped with a 3D setting menu. The keys enter the settings. Under normal circumstances, only the signal source outputs 3D signal, the projector can automatically recognize, but there are also a few cases that need to be manually set, the user can enter the 3D menu to select the appropriate 3D picture mode. In addition, there are some settings in the 3D setup menu regarding the size of the projection screen, 3D depth, subtitle depth, etc., and the user can set according to the actual usage. It is worth mentioning that the stereoscopic effect of most 3D movies is currently expanding outward. If the user sees the image shrinking inward, he needs to select the "reverse" function in 3D mode to adjust the left and right eye signals of the 3D sync signal. The order of the launch. In addition, some projectors have 2D to 3D functions, which are for ordinary 2D program sources, not native 3D program sources, and the stereo effect is far less than direct viewing of 3D native programs.
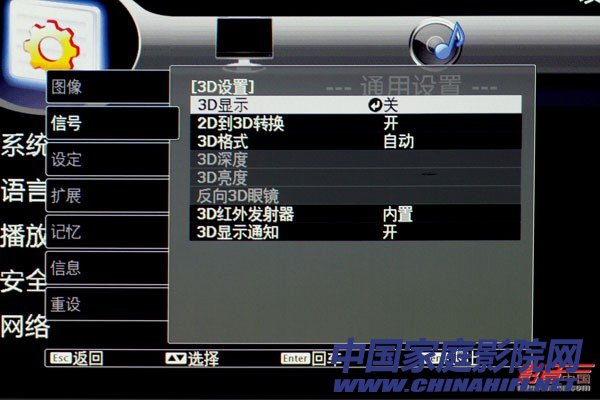

Pay attention to find the 3D settings menu and carefully set the 3D function of the projector.
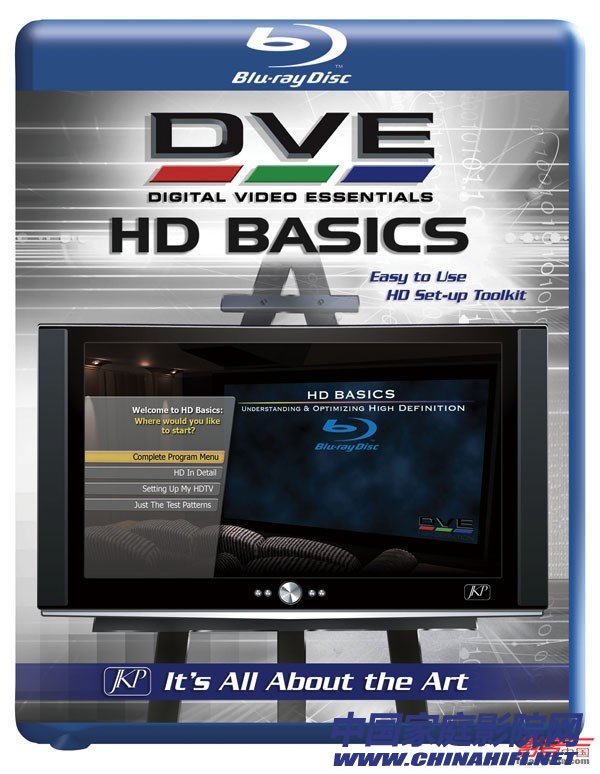
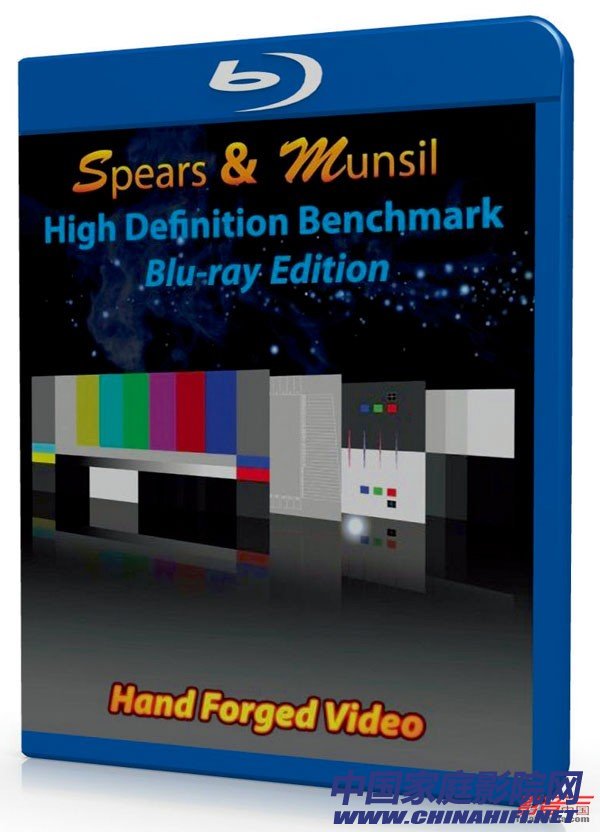
"DVE HD Basic" and "Spears & Munsil" Blu-ray test discs are very easy to use display device adjustment software
The above is the basic pre-commissioning work of the projector, and then enters the link of the screen effect adjustment. In general, we should choose a picture mode that is closer to the standard as the basic item of adjustment. Usually, the default setting of the theater and standard mode is the most accurate. However, if you want to get a picture mode with sufficient energy in the living room, dynamic and natural modes are more suitable, they often provide higher output brightness.
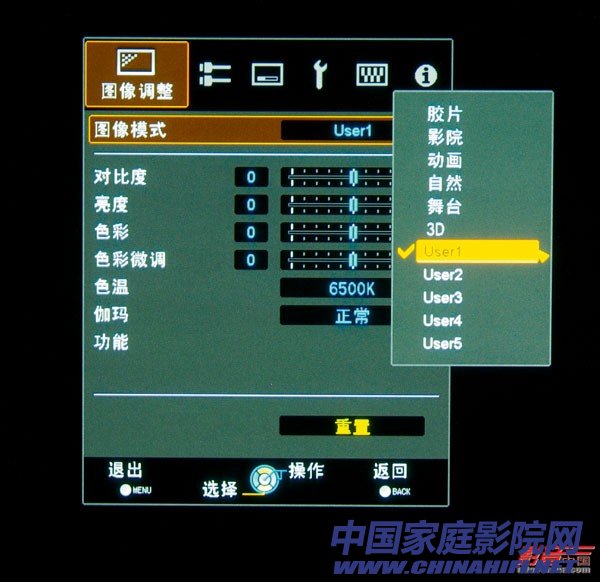
Pay attention to selecting the appropriate picture mode according to different program sources and viewing environment.
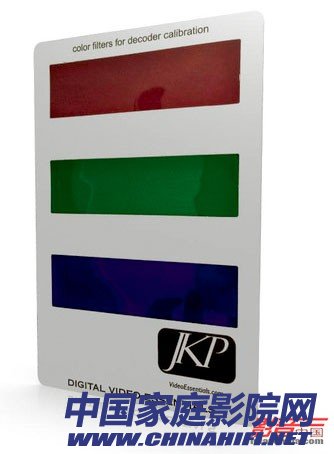
Adjust colors and tones with the RGB tri-color filter included with DVE HD Basic
When the appropriate picture mode is selected, we can use the Blu-ray test discs such as "DVE HD Basic" and "Spears & Munsil" as the adjustment tool for the picture. There are rich video adjustment pictures, which adjust the brightness, contrast and color. The options are very important. In addition, both "DVE HD Basic" and "Spears & Munsil" are English test software, but each test screen has a description guide, which is very convenient to use.
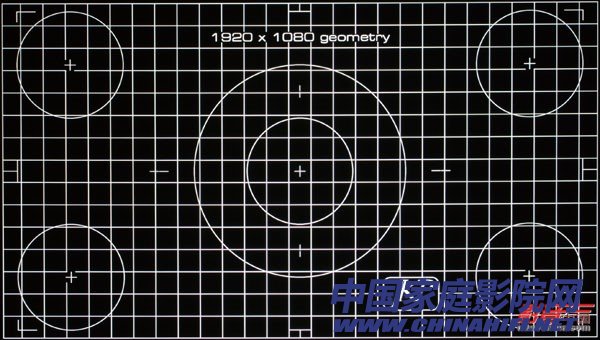
This is the screen used to test the resolution of the projector in DVE HD Basic.
One thing to note is that the color is adjusted with a blue filter and the hue is adjusted with red and green filters.
When adjusting the picture, you should adjust the brightness first, get enough black and not lose a lot of brightness in the dark part, then adjust the contrast to get enough high-light energy and detail to get the maximum dynamic range. It should be noted that the brightness should not be excessive black, otherwise the dark details will be lost, and the contrast should not be too high, otherwise the problem of high light level shift will occur.
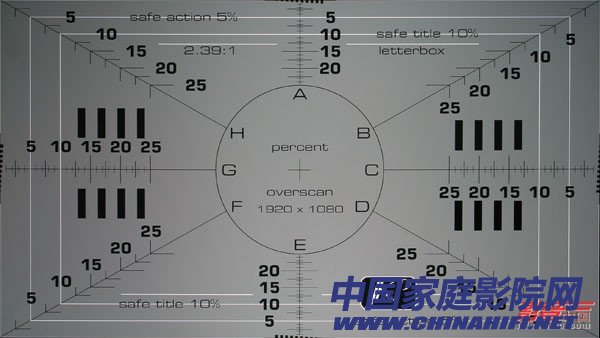
"DVE HD Basic" also has a test screen for overscan

Adjust contrast and brightness to get the highest dynamic range
After adjusting the brightness and contrast, don't forget to adjust the sharpness. Sharpness is very important for the reproduction of picture details. It should be noted that when adjusting the sharpness, it is not the bigger or the smaller, the better, but just the right one. You can make detailed adjustments according to the test screen of the test disc, otherwise the text or image edge will appear. The situation of ghosting.

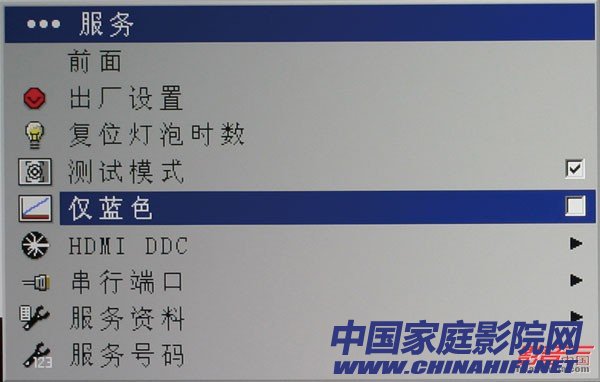
The "Blue Only Blue" function in the projector allows color adjustment without filters
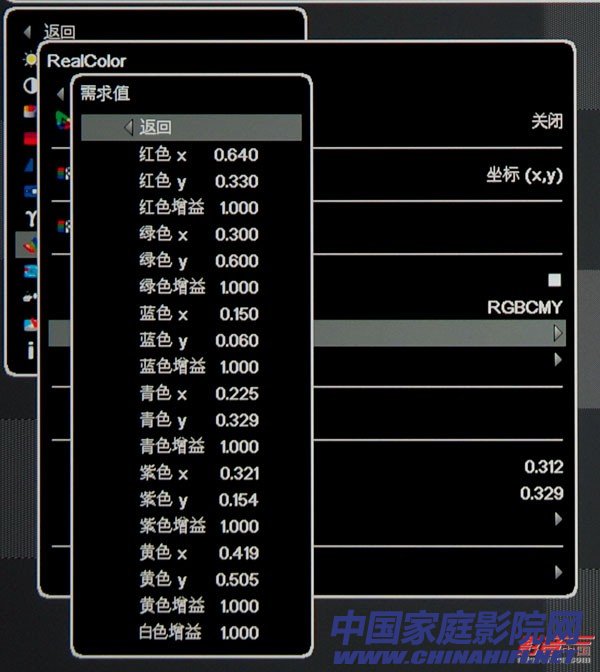
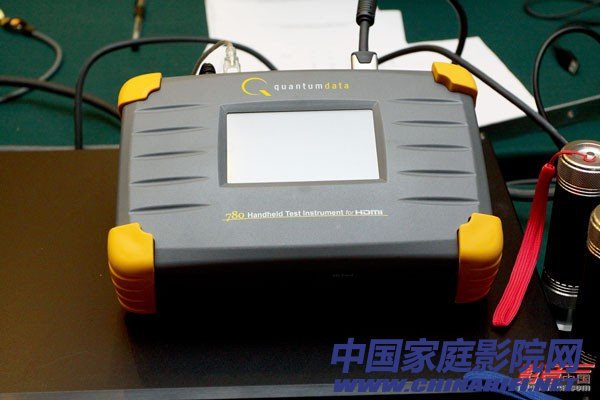
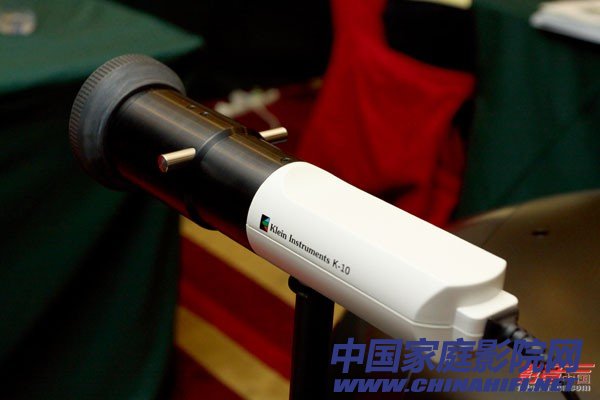
Professional color management system requires professional color adjustment tools
After the adjustment is completed, you can see if the color meets the requirements through the screen you are familiar with.
In terms of color, for the players just getting started, you don't have to pay too much attention to the color management system and gamma curve adjustment function, because these adjustment functions need to be used with a more professional color adjustment system, such as video signal generator, color analysis instrument. Wait. Basically, you only need to carefully adjust the two parts of color and hue to get quite good results. If you want better results, you can also choose an entry-level color adjustment system such as Spyder 4. There is a key point worthy of attention. If you usually use Blu-ray disc or HDTV as the main source of viewing, you should choose HDTV or Rec.709 standard if you choose the color space of the projector. If not, choose it. SMPTE-C or EBU standard, as this is the current production standard for HD programming sources. In addition, in most projectors and source menus, there are settings for the HDMI range. It is recommended to set the source to standard and the projector to expand to get the best gray. Class performance.

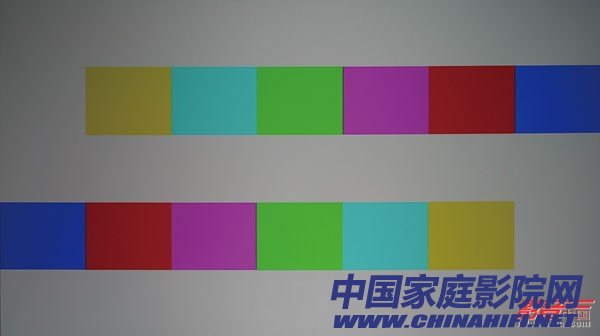
Test pattern for verifying the correctness of color decoding of signal sources and projection devices in Spears & Munsil

If you need to adjust the grayscale white balance, you can use the entry-level color adjustment tool Spyder 4 to achieve

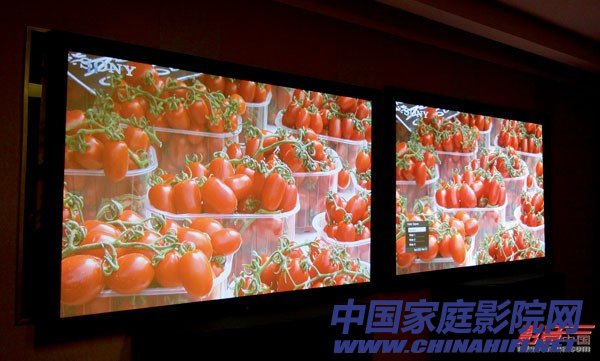
Character skin color pattern is the best tool to check color adjustment
Finally, you need to pay attention to save the adjusted data when adjusting the screen, otherwise the data may be lost after shutdown. In the whole picture adjustment process, a series of digital picture optimization and dynamic aperture functions in the projector must be turned off to obtain the most accurate picture effect. Of course, after completing the basic adjustment of the screen, you can appropriately turn on the corresponding optimization function according to the actual situation. After such a rough installation and debugging process, the projector can basically enter the normal viewing state, but to get more accurate, true, natural color performance and accurate skin color reproduction, you need to make more projectors. In-depth grayscale adjustments and more professional gamut space adjustments, including white balance and gamut coordinates. There are a lot of in-depth adjustments involved here, so I won't explain them one by one. Interested friends can get relevant adjustment skills through professional video tuning courses.

For those who are just getting started, you don't have to pay too much attention to the color management system and the gamma curve adjustment function. Just pay attention to the correct setting of color and color.

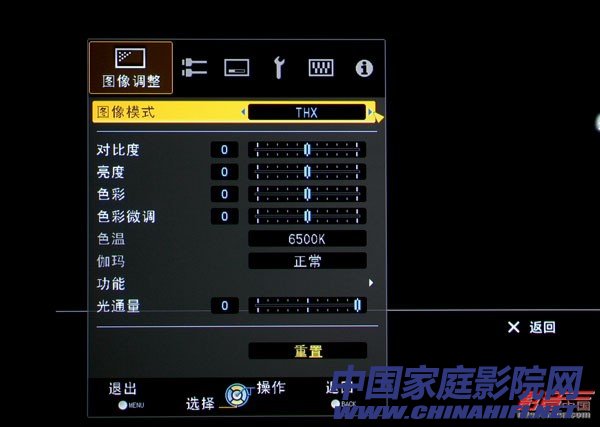
For projectors with THX and ISF certification, they have a preset preset screen mode, which allows users to directly select
Say goodbye to darkness in the evening and costly electricity bills. Our solar-powered LED lighting solutions harness the sun`s energy to provide high-quality illumination for indoor and outdoor applications. This breakthrough technology delivers a convenient, sustainable way to light your space with minimal investment and maintenance. Presenting a convenient and cost-effective way to light your streets at night. Solar road and street lighting systems provide clear visibility for pedestrians and drivers, without needing AC grid access. These reliable Street Lights quickly pay back the low initial investment with substantial energy savings.
Solar Led Street Light,Solar Led Street Lighting,Led Street Lighting,Solar Led Street Lamp
Shenzhen Ri Yue Guang Hua Technology Co., Ltd. , https://www.ledlightinside.com